
Are you craving a muffin that combines the rich, velvety allure of red velvet with the irresistible crunch of chocolate chips? Well, you’re in luck! Today, I’ll walk you through everything you need to know to create perfect, moist, and flavorful Red Velvet Chocolate Chip Muffins that will impress your family and friends.
What Are Red Velvet Chocolate Chip Muffins?
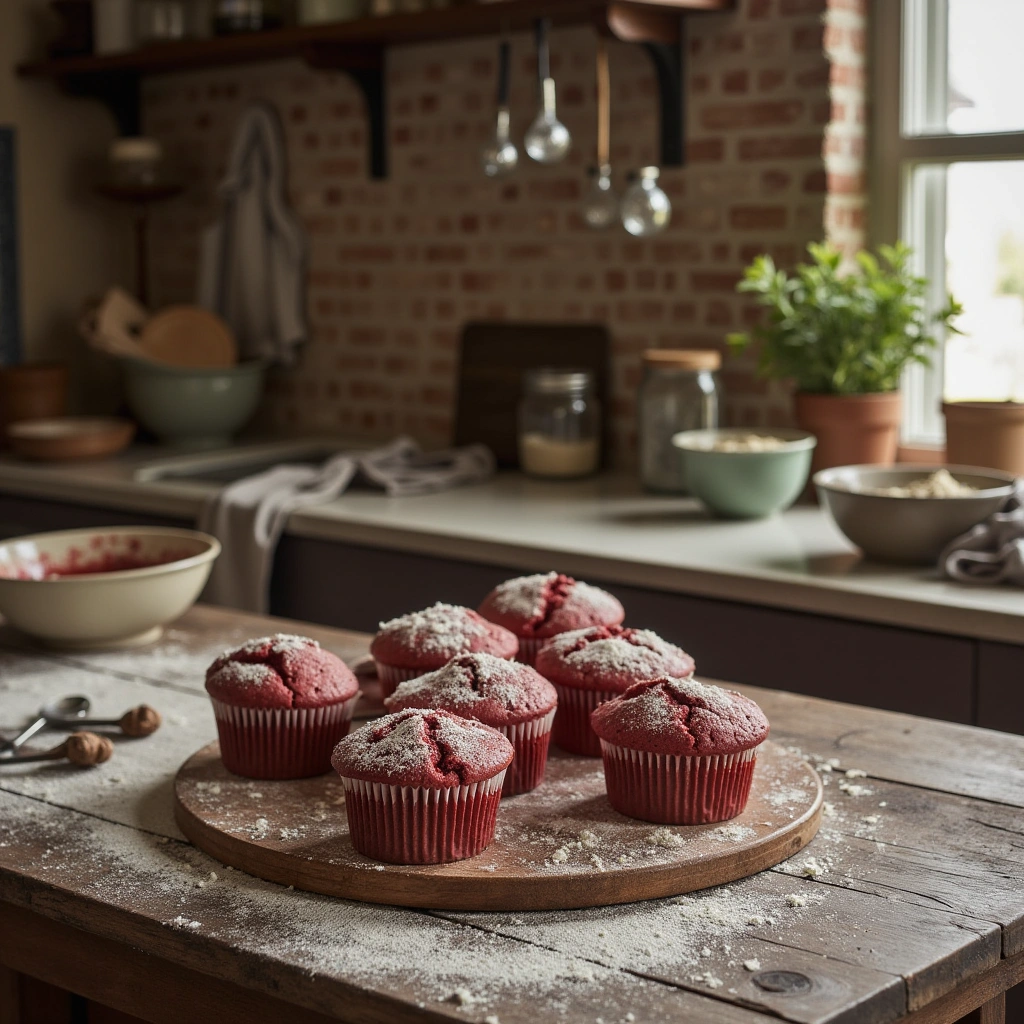
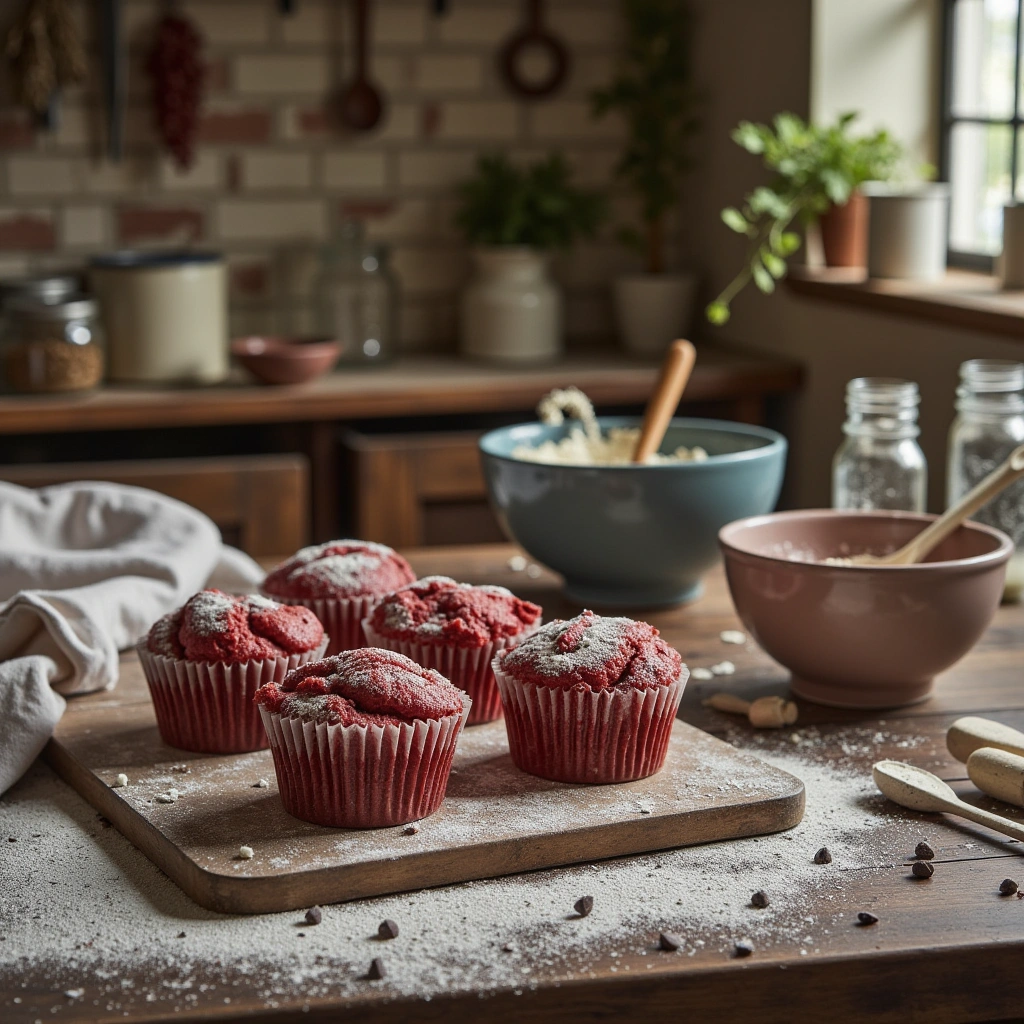
Red velvet chocolate chip muffins are a delightful twist on traditional muffins, blending the subtle cocoa flavor and vibrant red hue of classic red velvet cake with the gooey sweetness of chocolate chips. These muffins are soft, moist, and bursting with chocolate goodness, making them an ideal breakfast treat or snack for any occasion.
Why Choose These Muffins?
- Vibrant Appearance: Their striking red color makes them visually appealing.
- Rich Flavor Profile: The subtle cocoa taste complements the sweetness of chocolate chips.
- Versatility: Perfect for brunches, parties, or as an everyday indulgence.
- Ease of Making: No fancy equipment needed—just basic baking skills.
What You’ll Need: Materials & Ingredients
Before diving into the baking process, let’s gather everything needed. Proper ingredients and tools are essential for the best results.
Materials Needed
| Item | Quantity / Details | Notes |
|---|---|---|
| Muffin tin | 12-cup capacity | For baking individual muffins |
| Paper muffin liners | 12 pieces | Optional but helps with cleanup |
| Mixing bowls | 2 large bowls | For mixing wet and dry ingredients |
| Whisk / Electric mixer | 1 | To blend ingredients smoothly |
| Spatula | 1 | For folding in chocolate chips |
| Measuring cups | Set (1/4, 1/2, 1 cup) | For accurate ingredient measurement |
| Measuring spoons | Set (1 tsp, 1 tbsp) | For small measurements |
| Toothpick or cake tester | 1 | To check muffin doneness |
Ingredients
Here’s a detailed list of what you’ll need, with some tips for quality:
| Ingredient | Quantity | Notes |
|---|---|---|
| All-purpose flour | 2 ½ cups | Use fresh, high-quality flour |
| Granulated sugar | 1 cup | Adjust for sweeter or less sweet muffins |
| Unsweetened cocoa powder | ⅓ cup | Use natural or Dutch-processed cocoa |
| Baking powder | 1 ½ teaspoons | Leavens the muffins for fluffiness |
| Baking soda | ½ teaspoon | Reacts with acidic ingredients for rise |
| Salt | ½ teaspoon | Enhances flavor |
| Red food coloring (gel or liquid) | 2-3 tablespoons | Gel is preferred for vibrant color |
| Vanilla extract | 1 teaspoon | Adds depth of flavor |
| Buttermilk or milk + vinegar | 1 cup (or 1 cup buttermilk) | For tenderness and slight tang |
| Vegetable oil or melted butter | ½ cup | Keeps muffins moist |
| Egg | 1 large | Binds ingredients together |
| Semi-sweet chocolate chips | 1 cup | For melty, rich chocolate pockets |
| Optional: Cream cheese frosting | As desired | For topping, if you want a touch of decadence |
Step-by-Step Baking: How to Make Red Velvet Chocolate Chip Muffins
Now, let’s get into the fun part—baking! Follow these straightforward steps for perfect muffins every time.
Step 1: Prepare Your Oven and Muffin Tin
- Preheat your oven to 350°F (175°C).
- Line your muffin tin with paper liners or lightly grease it to prevent sticking.
Step 2: Mix the Wet Ingredients
- In a large bowl, whisk together:
- 1 cup of buttermilk (or milk with 1 teaspoon vinegar)
- ½ cup vegetable oil or melted butter
- 1 large egg
- 2-3 tablespoons red food coloring
- 1 teaspoon vanilla extract
Tip: Use gel food coloring for vibrant reds without altering the batter’s consistency.
Step 3: Combine the Dry Ingredients
- In a separate bowl, sift together:
- 2 ½ cups all-purpose flour
- ⅓ cup unsweetened cocoa powder
- 1 cup granulated sugar
- 1 ½ teaspoons baking powder
- ½ teaspoon baking soda
- ½ teaspoon salt
Note: Sifting ensures even distribution and prevents lumps.
Step 4: Mix Wet and Dry
- Gradually add dry ingredients into the wet mixture.
- Use a spatula or wooden spoon to fold gently until just combined—do not overmix to keep muffins light and fluffy.
Step 5: Fold in Chocolate Chips
- Gently fold in 1 cup of semi-sweet chocolate chips.
- This step ensures even chocolate distribution without deflating the batter.
Step 6: Fill Muffin Cups
- Spoon batter into each muffin cup, filling about ¾ full.
- For a more polished look, sprinkle a few extra chocolate chips on top of each muffin.
Step 7: Bake
- Place the muffin tin in the preheated oven.
- Bake for 18-22 minutes, or until a toothpick inserted into the center comes out clean.
- Tip: Start checking at 18 minutes to prevent overbaking.
Step 8: Cool and Serve
- Let the muffins cool in the tin for 5 minutes.
- Transfer to a wire rack to cool completely.
- Optional: Decorate with cream cheese frosting or a dusting of powdered sugar.
Tips for Success
- Use high-quality food coloring: Gel food coloring yields brighter, more vibrant reds.
- Do not overmix: Overmixing develops gluten, making muffins dense.
- Fresh chocolate chips: For melty pockets, use good-quality, fresh chocolate chips.
- Accurate measurements: Baking is a science—measure ingredients precisely for best results.
- Don’t overfill: Fill muffin cups about ¾ full to prevent batter overflow.
Common Mistakes and How to Avoid Them
| Mistake | Solution |
|---|---|
| Overmixing batter | Mix until just combined; a few lumps are okay |
| Baking at too high/low temperature | Follow the temperature guidelines strictly |
| Overbaking | Check muffins at the 18-minute mark to avoid dryness |
| Using old baking soda/powder | Use fresh leavening agents for proper rise |
| Skipping cooling period | Cool muffins sufficiently to lock in moisture |
Variations to Try
- Chocolate Swirl: Add a swirl of cream cheese or chocolate spread before baking.
- Nutty Crunch: Mix in chopped walnuts or pecans for added texture.
- Gluten-Free: Substitute all-purpose flour with a gluten-free blend.
- Vegan Version: Use plant-based milk, flax eggs, and dairy-free chocolate chips.
- Frosted Muffins: Top with cream cheese frosting or whipped cream for extra indulgence.
Wrapping It Up
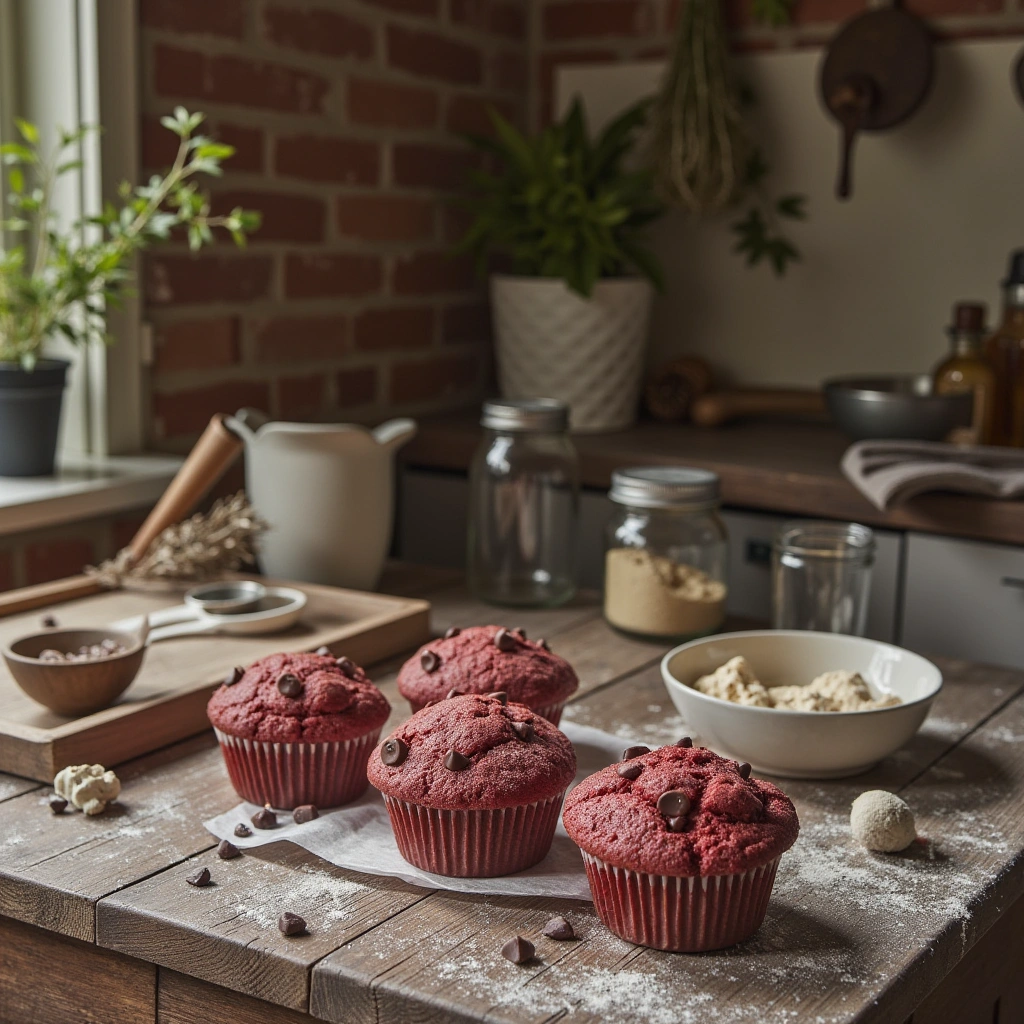
Making perfect red velvet chocolate chip muffins is easier than you think! With the right ingredients, proper technique, and a little patience, you’ll be enjoying moist, flavorful muffins that are as beautiful as they are delicious. Whether for a special occasion or just a treat to brighten your day, these muffins are sure to impress.
So, gather your materials, follow the steps, and don’t forget to enjoy every bite of your homemade creation. Happy baking!
Remember, the key to success is precision and patience. Keep experimenting with variations, and you’ll master this delightful treat in no time!


