

Hey there! If you’re a fan of classic desserts with a tropical twist, then mini pineapple upside-down cakes are about to become your new favorite treat. These adorable, individual-sized cakes combine the rich caramelized flavors of pineapple with the soft, buttery goodness of cake, making them perfect for any occasion—be it a family dinner, a summer picnic, or a special celebration. Today, I’ll walk you through everything you need to know to craft these delightful mini desserts from scratch, ensuring each bite is perfectly moist, flavorful, and visually stunning.
What Are Mini Pineapple Upside Down Cakes?
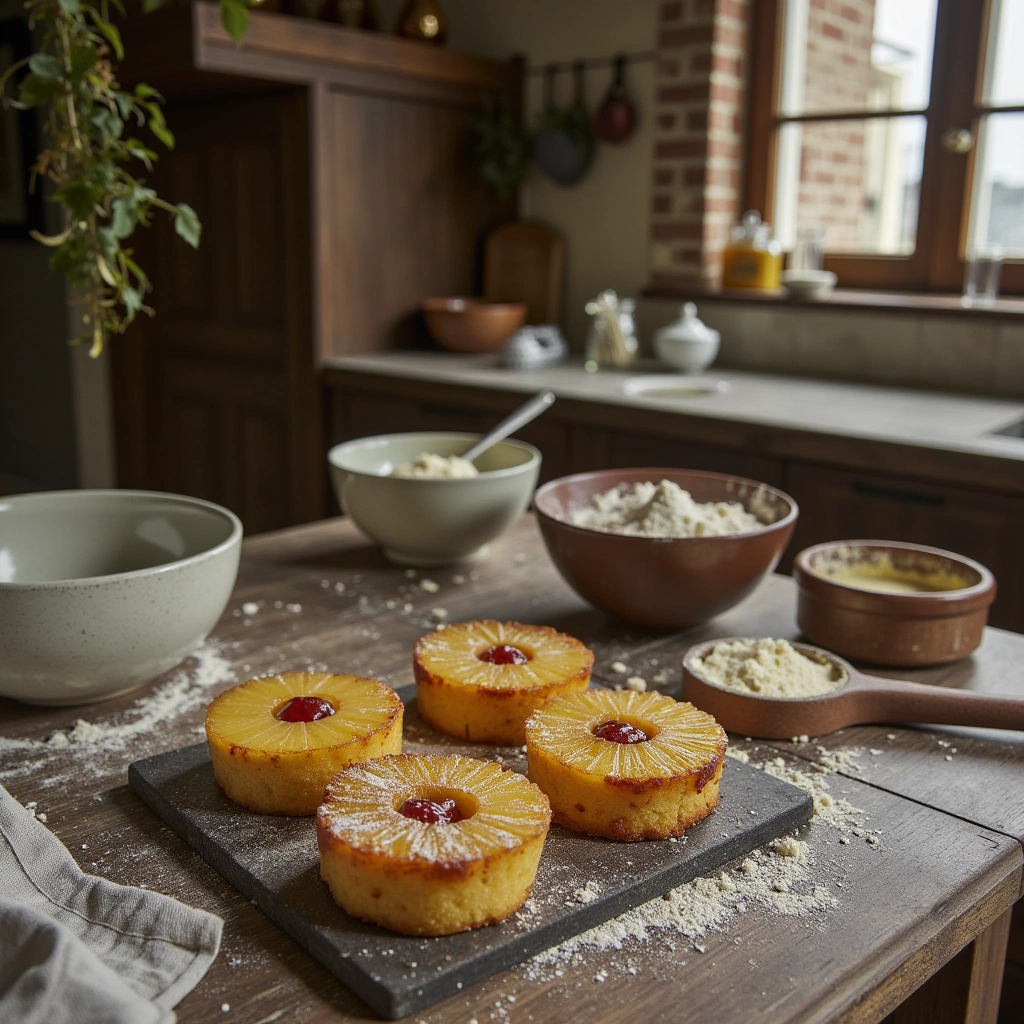
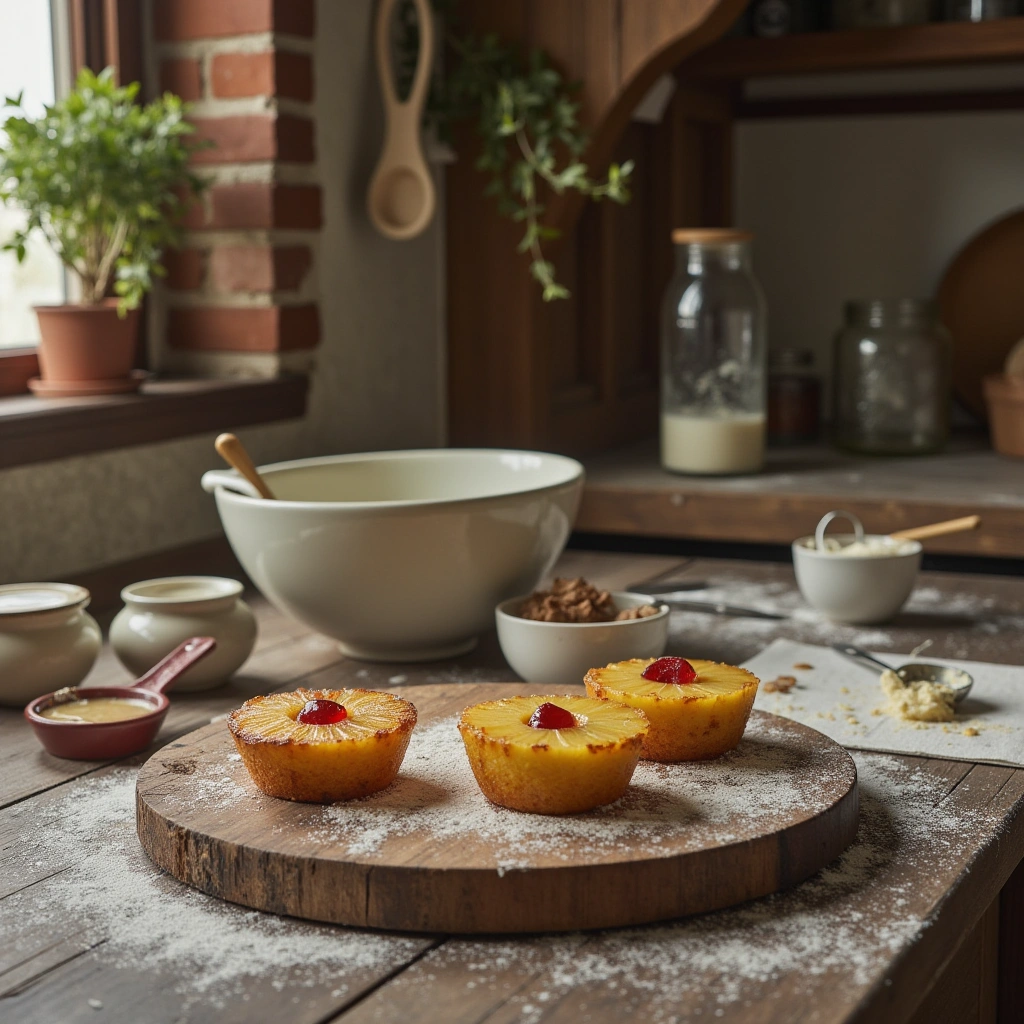
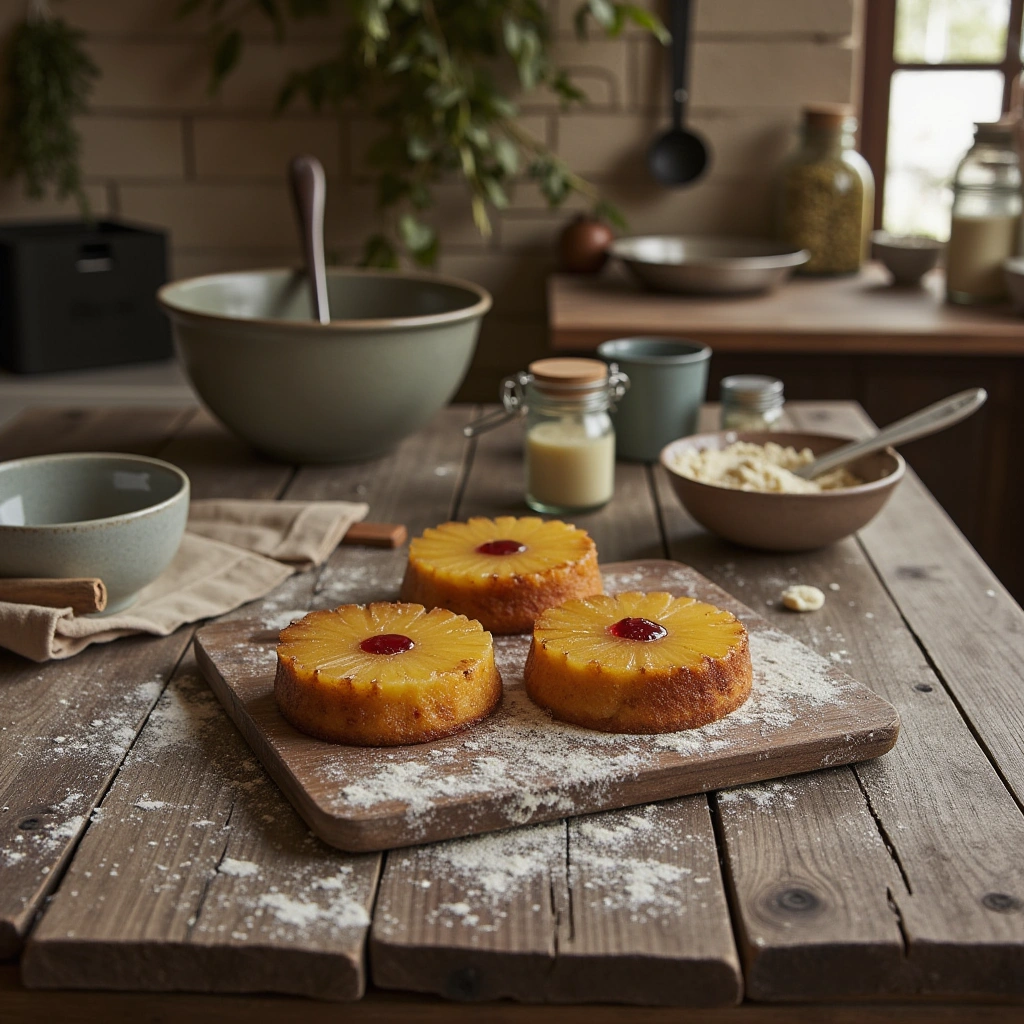
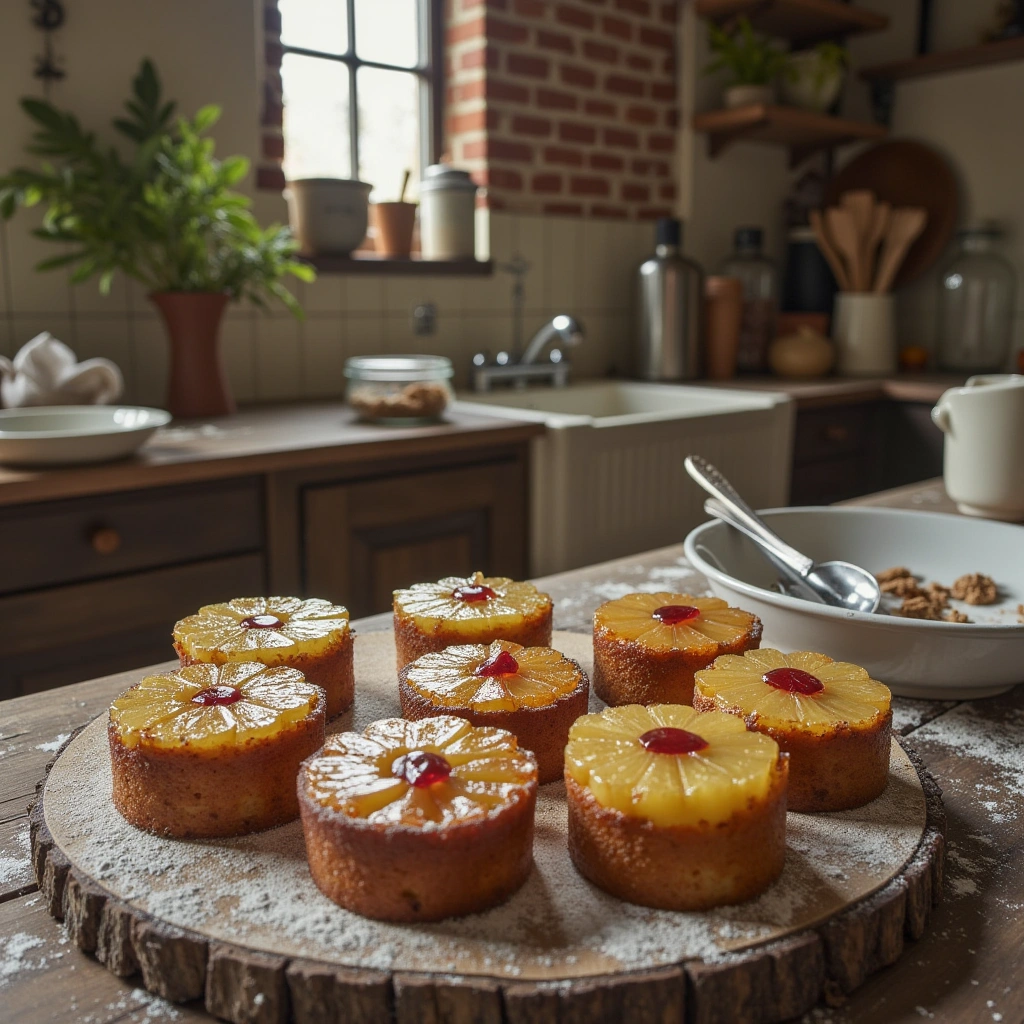
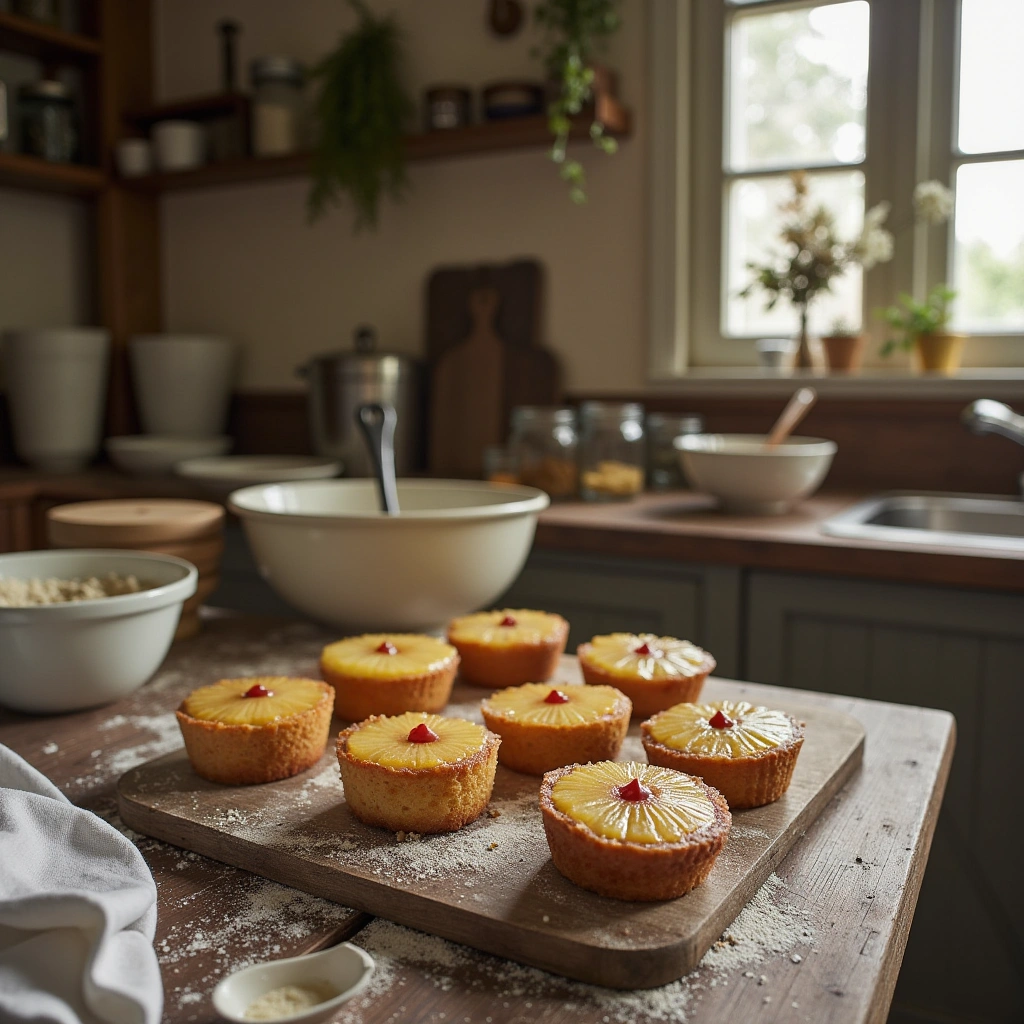
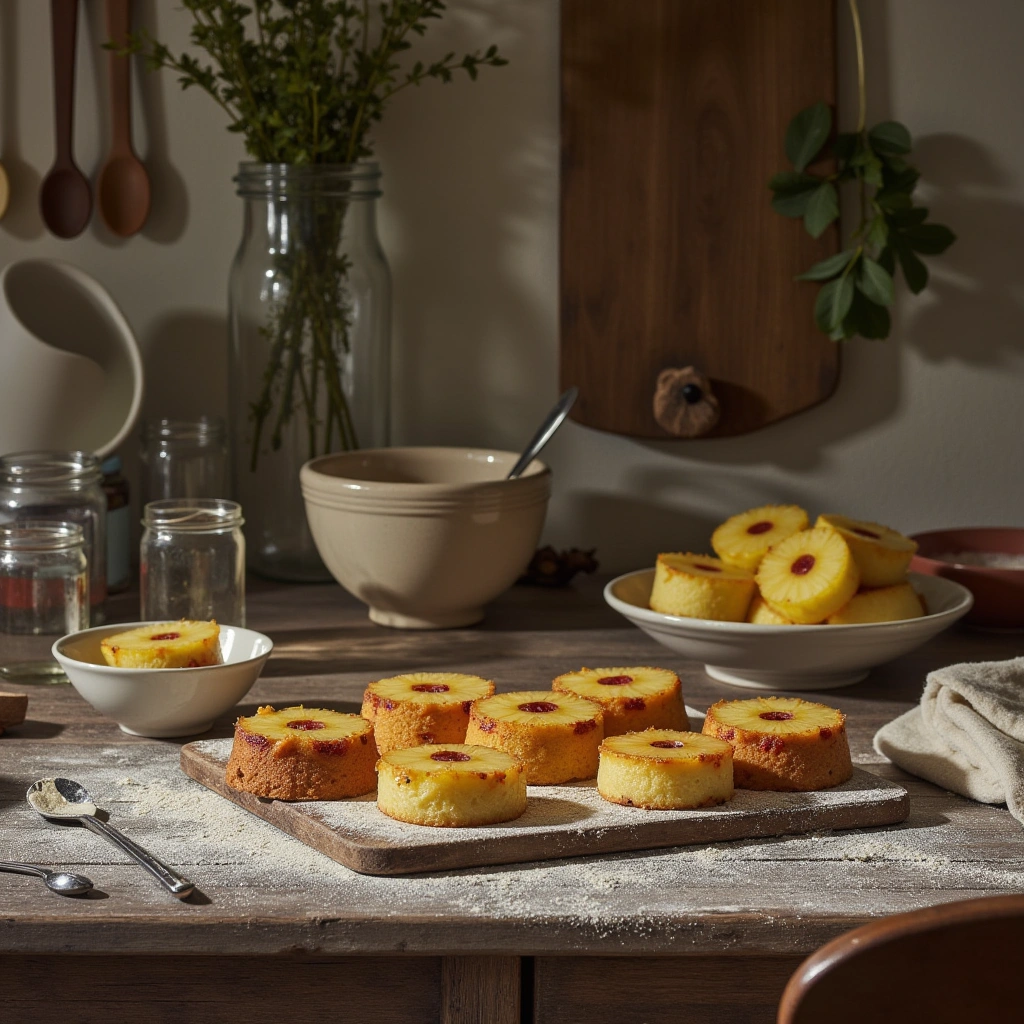
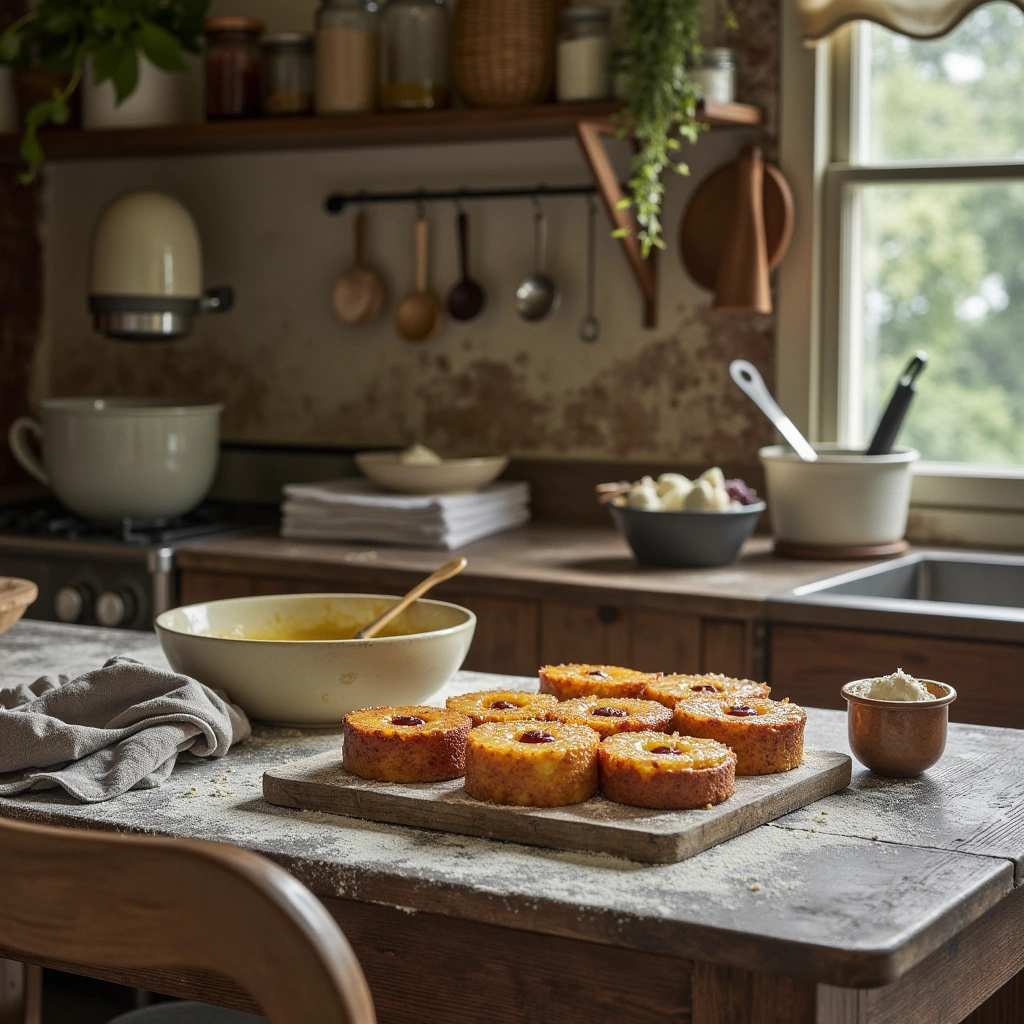
Mini pineapple upside-down cakes are small, single-serving cakes cooked in individual molds or ramekins. They feature a caramelized pineapple topping, topped with a moist cake batter, which, once baked, is flipped over to reveal a beautiful, glossy pineapple crown. These cakes are not only charming but also customizable, allowing you to add your favorite toppings or flavors.
Why Make Mini Cakes?
- Portion Control: Perfect for serving individual sizes without leftovers.
- Visual Appeal: Their cute, mini size makes for an impressive presentation.
- Flavor Focus: Each bite delivers a concentrated burst of pineapple and caramel goodness.
- Ease of Serving: Great for parties, buffets, or quick dessert fixes.
What You’ll Need: Materials & Ingredients
Materials Needed
| Item | Quantity / Size | Purpose |
|---|---|---|
| Mini cake pans or ramekins | 4-6 small molds (about 4-inch diameter) | To bake individual cakes |
| Mixing bowls | 2 large | For batter and caramel preparation |
| Whisk or hand mixer | 1 | To blend batter and whip ingredients |
| Saucepan | 1 | To prepare caramel and pineapple syrup |
| Oven | 1 | For baking |
| Cooling rack | 1 | To cool cakes after baking |
| Spatula | 1 | For mixing and releasing cakes |
| Measuring cups & spoons | As needed | For precise ingredient measurement |
| Knife or offset spatula | 1 | To level batter and decorate |
Ingredients
| Ingredient | Quantity | Notes |
|---|---|---|
| Fresh pineapple slices | 1 cup, sliced (about 1/4-inch thick) | Fresh preferred for natural sweetness |
| Light brown sugar | 1/2 cup | For caramelizing the pineapple |
| Unsalted butter | 1/4 cup (4 tbsp) | For caramel and batter flavor |
| Granulated sugar | 1/2 cup | To enhance sweetness |
| All-purpose flour | 1 1/2 cups | For the cake batter |
| Baking powder | 1 1/2 tsp | To help the cake rise |
| Eggs | 2 large | Binding agent and leavening |
| Whole milk | 1/2 cup | Moisture and tenderness |
| Vanilla extract | 1 tsp | Adds depth of flavor |
| Salt | 1/4 tsp | Enhances overall flavor |
Step-by-Step Guide to Making Mini Pineapple Upside Down Cakes
1. Prepare the Caramelized Pineapple Topping
- Step 1: Melt 2 tablespoons of butter in a saucepan over medium heat.
- Step 2: Add 1/4 cup of brown sugar and stir until dissolved, creating a caramel sauce.
- Step 3: Arrange pineapple slices in the bottom of each mini cake pan or ramekin, overlapping slightly.
- Step 4: Spoon the warm caramel sauce over the pineapple slices, ensuring even coverage.
- Tip: For extra flavor, sprinkle a pinch of cinnamon or nutmeg over the pineapple before pouring the caramel.
2. Make the Cake Batter
- Step 1: In a large mixing bowl, whisk together the flour, baking powder, and salt.
- Step 2: In a separate bowl, beat the eggs, granulated sugar, vanilla extract, and milk until well combined.
- Step 3: Slowly add the wet ingredients into the dry ingredients, mixing gently until smooth.
- Step 4: Melt the remaining 2 tablespoons of butter and fold into the batter for added richness.
3. Assemble and Bake
- Step 1: Pour the batter evenly over the pineapple and caramel in each ramekin or mini pan.
- Step 2: Smooth the top with a spatula to ensure even baking.
- Step 3: Preheat your oven to 350°F (175°C).
- Step 4: Place the ramekins on a baking sheet and bake for 25-30 minutes, or until a toothpick inserted into the center comes out clean.
- Tip: Avoid overbaking to keep the cakes moist and tender.
4. Cool and Flip
- Step 1: Allow the cakes to cool for about 10 minutes—this helps the caramel set.
- Step 2: Run a knife around the edges to loosen.
- Step 3: Place a serving plate upside down over each ramekin.
- Step 4: Carefully flip and lift the ramekin, revealing the caramelized pineapple topping beautifully on top.
- Tip: Gently tap or shake if the cake doesn’t release immediately.
Tips for Success
- Use Fresh Pineapple: Fresh pineapple slices caramelize better and taste more vibrant than canned.
- Level the Batter: Ensure the batter is evenly distributed to avoid uneven cooking.
- Don’t Overbake: Keep an eye on the cakes—overbaking makes them dry.
- Serve Warm: These cakes are best enjoyed warm, but can be served at room temperature.
- Decorate Creatively: Add a dollop of whipped cream, a sprig of mint, or toasted coconut for extra flair.
Common Mistakes & How to Avoid Them
| Mistake | Solution |
|---|---|
| Overbaking the cakes | Check for doneness at 25 minutes; insert toothpick. |
| Using canned pineapple | Opt for fresh for better flavor and caramelization. |
| Uneven batter distribution | Use a spoon or ladle to evenly fill each ramekin. |
| Not cooling enough before flipping | Wait 10 minutes; flipping too early causes sticking. |
| Skipping the caramel step | Caramel is the signature flavor—don’t skip it! |
Variations You Can Try
- Add Nuts: Chopped pecans or walnuts in the batter for crunch.
- Incorporate Coconut: Toss shredded coconut into the batter for tropical flair.
- Use Different Fruits: Swap pineapple with peaches, mango, or cherries.
- Flavor Twists: Add a splash of rum or coconut extract to the batter.
- Glaze or Icing: Drizzle caramel sauce or pineapple glaze on top before serving.
Wrapping It All Up
Mini pineapple upside-down cakes are a fun, elegant way to indulge in a tropical-inspired dessert without the fuss of making a large cake. With fresh pineapple, a simple batter, and a bit of caramel magic, you can impress your family or guests with these adorable treats. Remember, success lies in patience—don’t rush the cooling or flipping stages, and your cakes will turn out picture-perfect every time. So go ahead, gather your ingredients, and start baking—these mini delights are sure to become a staple in your dessert repertoire!
Happy baking!


