Have you ever craved a dessert that’s both refreshing and indulgent? Key Lime Poke Cake is the perfect fusion of tangy and sweet, delivering a citrusy burst in every bite. If you love key lime pie but want an easier, crowd-pleasing dessert, this cake is your answer!
What Is Key Lime Poke Cake?
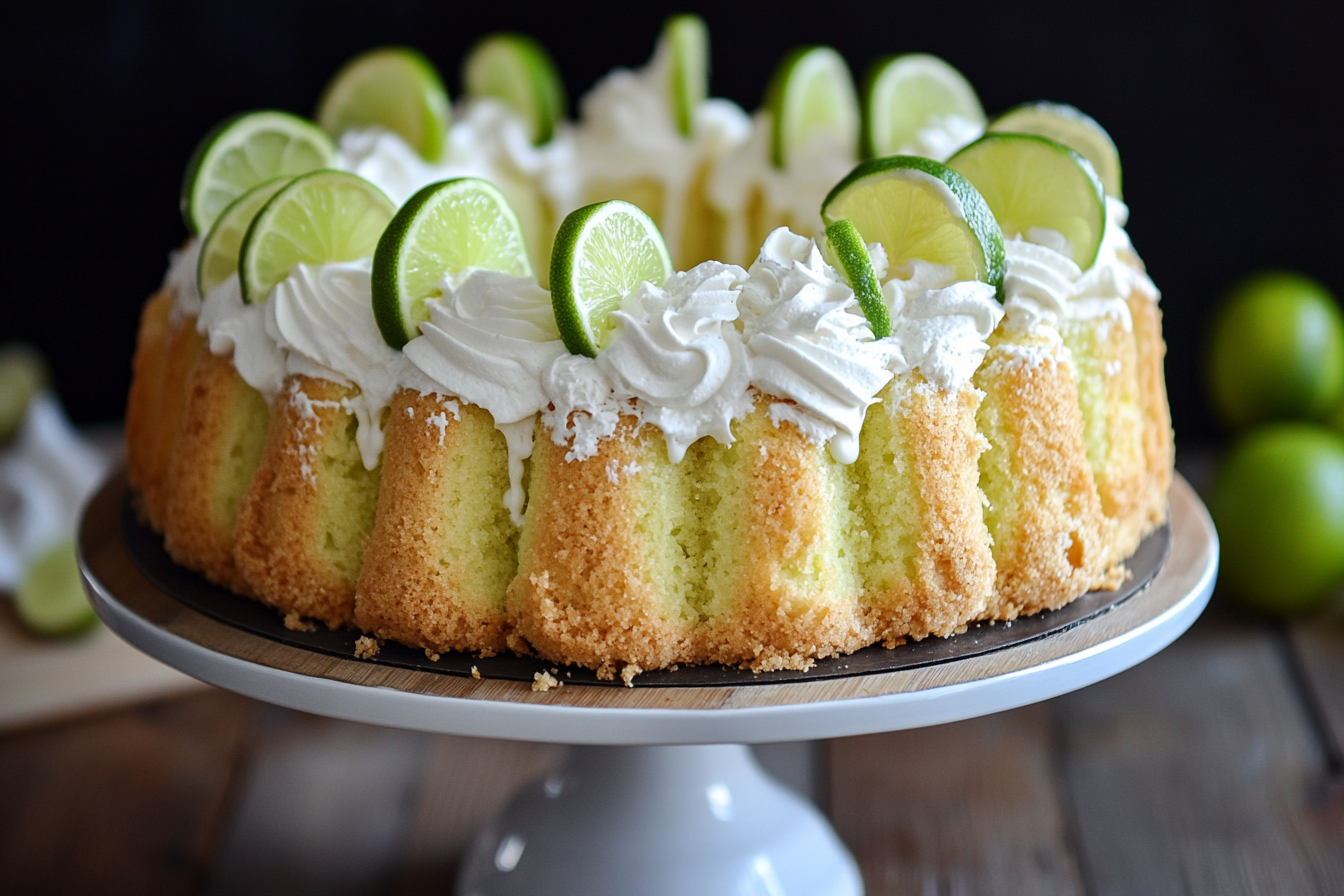
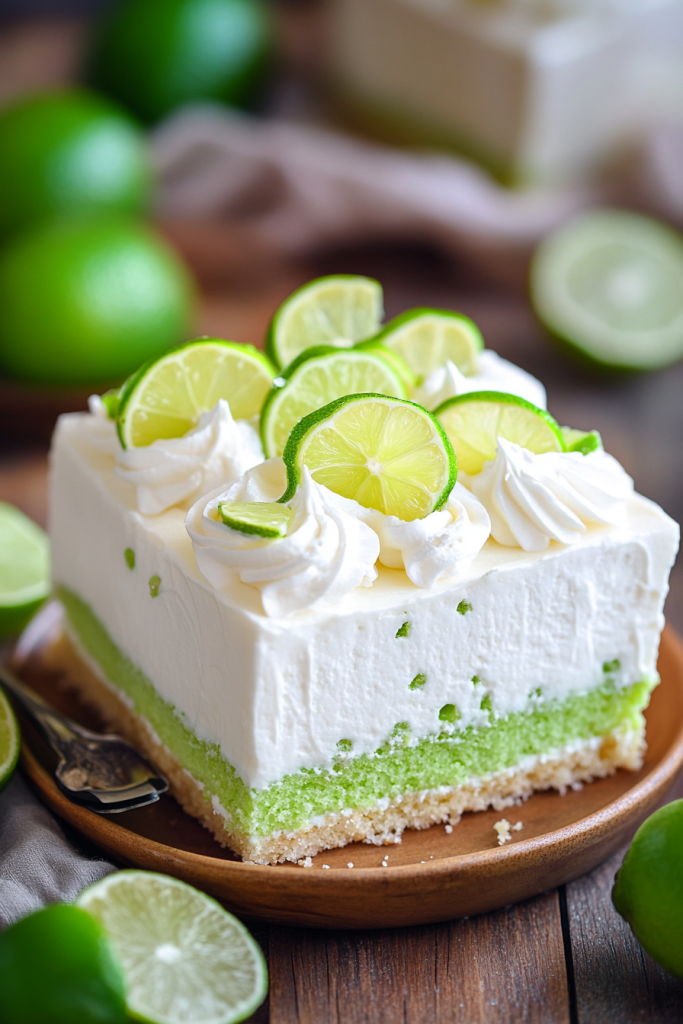
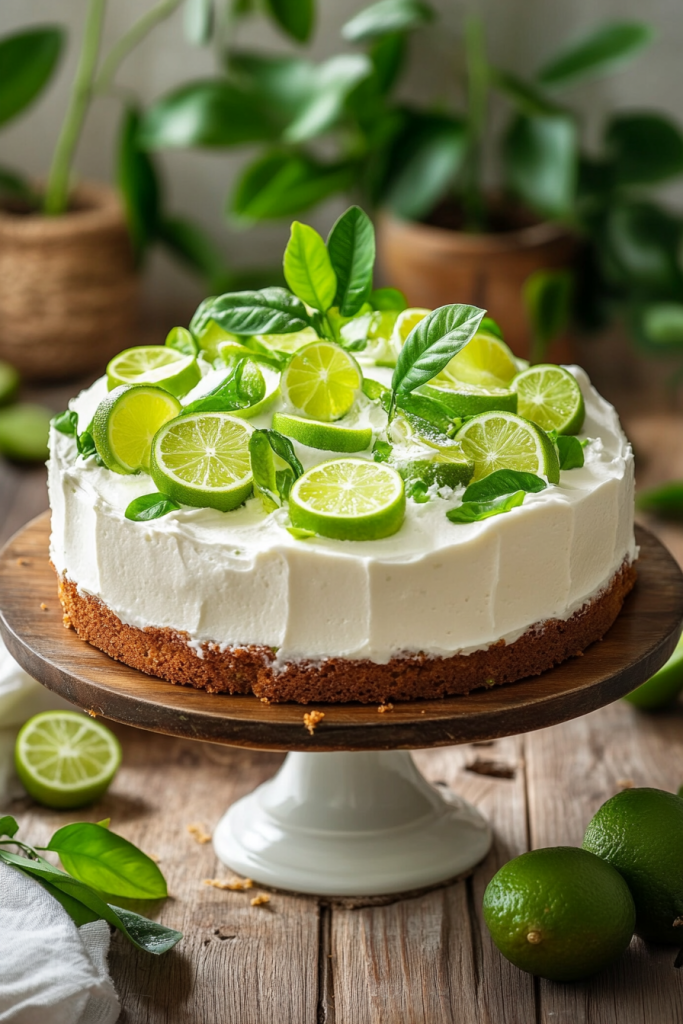
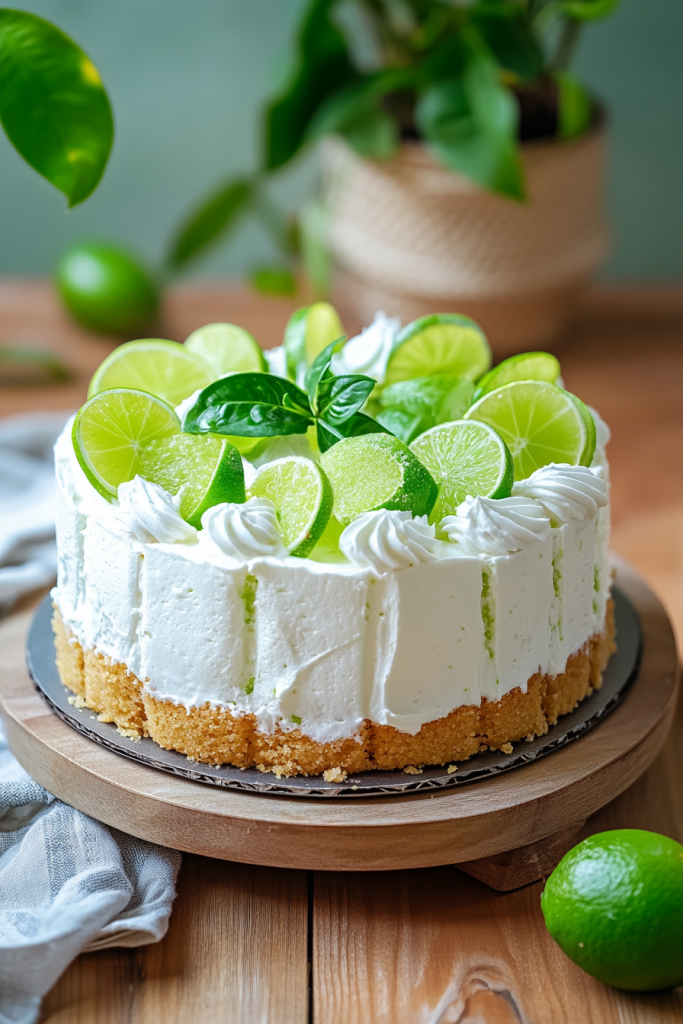
Key Lime Poke Cake is a simple yet decadent dessert that combines a soft vanilla cake with a luscious key lime filling. The ‘poke’ method allows the zesty lime mixture to seep into the cake, ensuring it’s ultra-moist and packed with flavor. Topped with a light whipped cream or frosting, it’s a delightful balance of creamy and tart.

A Brief History of Poke Cakes
Poke cakes originated in the 1970s when Jell-O promoted them as an easy way to create flavorful and visually appealing desserts. The concept was simple: bake a cake, poke holes in it, and pour in a flavorful liquid or filling. Over time, poke cakes evolved beyond gelatin and started incorporating custards, puddings, and rich cream fillings—like our delicious key lime version!

Materials Needed
Here’s a handy table to organize all the ingredients and tools required for this cake:
| Category | Ingredients & Tools |
|---|---|
| Cake Base | 1 box vanilla or white cake mix, eggs, vegetable oil, water (as per box instructions) |
| Key Lime Filling | 1 cup key lime juice (fresh or bottled), 1 can (14 oz) sweetened condensed milk, 1/2 cup heavy cream |
| Topping | 2 cups whipped cream or whipped topping, 1/2 cup powdered sugar, lime zest for garnish |
| Tools Needed | Mixing bowls, whisk, electric mixer, cake pan, skewer or straw (for poking holes) |
How to Make Key Lime Poke Cake
Step 1: Bake the Cake
- Preheat your oven according to the cake mix instructions.
- Prepare the cake mix as directed on the box.
- Pour the batter into a greased baking pan and bake until golden brown (usually 25-30 minutes).
- Let it cool for about 10 minutes.
Step 2: Poke the Holes
- Using the end of a wooden spoon, skewer, or straw, poke holes all over the cake.
- Make sure the holes go deep enough to absorb the filling.
Step 3: Prepare the Key Lime Filling
- In a bowl, whisk together the key lime juice, condensed milk, and heavy cream until smooth.
- Pour the mixture over the cake, ensuring it seeps into the holes.
- Use a spatula to spread it evenly over the top for full coverage.
Step 4: Chill the Cake
- Cover the cake and refrigerate for at least 2 hours (or overnight for best results).
- Chilling allows the flavors to meld and creates the perfect moist texture.
Step 5: Add the Topping
- Beat whipped cream and powdered sugar together until soft peaks form.
- Spread it evenly over the chilled cake.
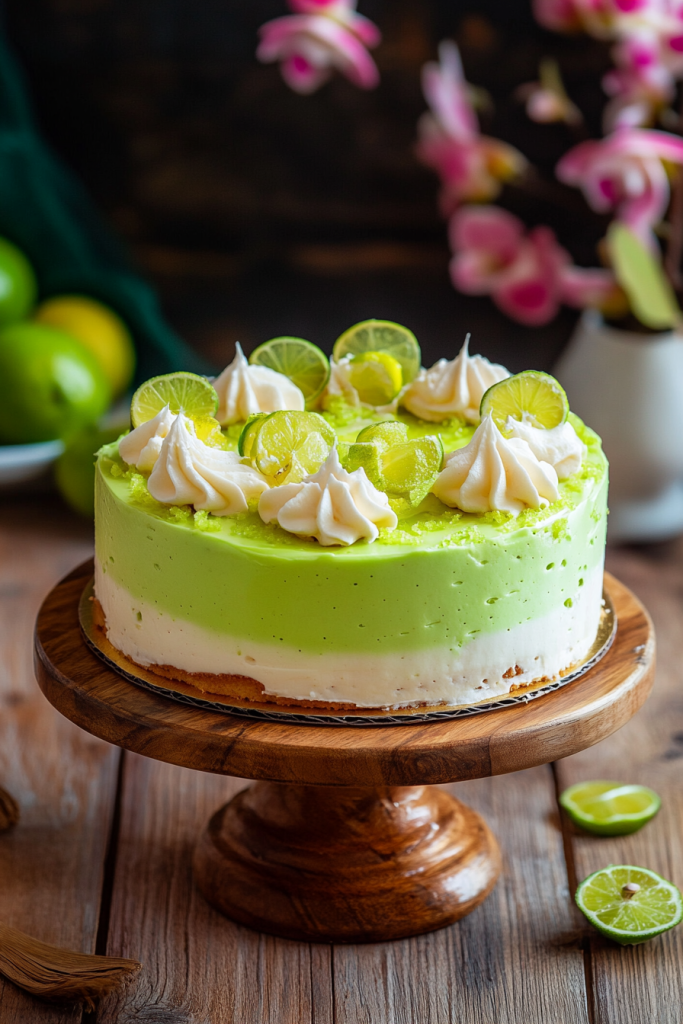
- Garnish with lime zest and, if desired, lime slices for extra flair.
- For a bakery-style finish, pipe whipped cream along the edges or sprinkle crushed graham crackers on top.
Why These Ingredients Work

- Key Lime Juice: Provides the signature tartness and citrus aroma.
- Sweetened Condensed Milk: Creates a creamy, rich texture while balancing the tartness.
- Heavy Cream: Adds extra creaminess and lightness to the filling.
- Whipped Topping: Keeps the dessert airy, preventing it from feeling too heavy.
Tips for Success
- Use fresh key lime juice for an authentic, tangy flavor.
- Poke more holes than you think you need—this ensures maximum flavor absorption.
- Chill overnight for the best texture and taste.
- Use stabilized whipped cream if you want the topping to hold up longer.
- For an extra burst of flavor, add a teaspoon of lime zest to the filling mixture.
Common Mistakes and How to Avoid Them

| Mistake | Solution |
|---|---|
| Not poking deep enough holes | Ensure holes go at least 3/4 of the way down. |
| Skipping the chilling step | The filling needs time to set; don’t rush it. |
| Overmixing whipped cream | Stop when soft peaks form to avoid curdling. |
| Using bottled lime juice only | Fresh lime juice enhances the taste significantly. |
| Not spreading filling evenly | Use a spatula to ensure every bite has lime flavor. |
Variations to Try
- Coconut Key Lime Cake: Add shredded coconut to the batter or sprinkle on top.
- Lemon-Lime Poke Cake: Use a mix of key lime and lemon juice for a citrus twist.
- Graham Cracker Topping: Sprinkle crushed graham crackers on top for a pie-inspired finish.
- Strawberry Key Lime Cake: Add fresh diced strawberries for a fruity contrast.
- Gluten-Free Version: Use a gluten-free cake mix without compromising flavor.
- Dairy-Free Option: Substitute coconut milk for heavy cream and use a dairy-free whipped topping.
Frequently Asked Questions
Q: Can I use regular limes instead of key limes?
A: Yes! Regular limes will work, though key limes have a more distinctive tart flavor.
Q: How long will this cake stay fresh?
A: It lasts up to 3 days in the fridge, but the texture is best within the first 24 hours.
Q: Can I freeze Key Lime Poke Cake?
A: Yes! Wrap it tightly in plastic wrap and store for up to 2 months. Thaw overnight in the fridge before serving.
Final Thoughts
Key Lime Poke Cake is the perfect dessert for spring and summer gatherings. It’s easy to make, incredibly flavorful, and always a crowd-pleaser. If you love key lime pie but want a simpler version, this cake will be your new favorite! Try it out and let me know how it turns out. 🍋🍰