
Hey food lovers! Are you ready to impress your friends at your next gathering? Today, I’ll walk you through everything you need to know about making a fantastic Grasshopper Cake — a luscious, mint-infused dessert that’s as gorgeous as it is flavorful. Whether you’re a seasoned baker or just starting out, this comprehensive guide will give you all the tips, tricks, and ideas to craft a show-stopping dessert that everyone will rave about. Let’s dive in!
What Is a Grasshopper Cake?
Have you ever heard of a Grasshopper Cake? It’s a decadent dessert inspired by the classic grasshopper cocktail, which blends mint liqueur and crème de cacao for a refreshing, chocolate-mint flavor. The cake version elevates this delicious combo into a layered, visually stunning treat perfect for birthdays, parties, or just because you’re craving something sweet and minty.
In simple terms:
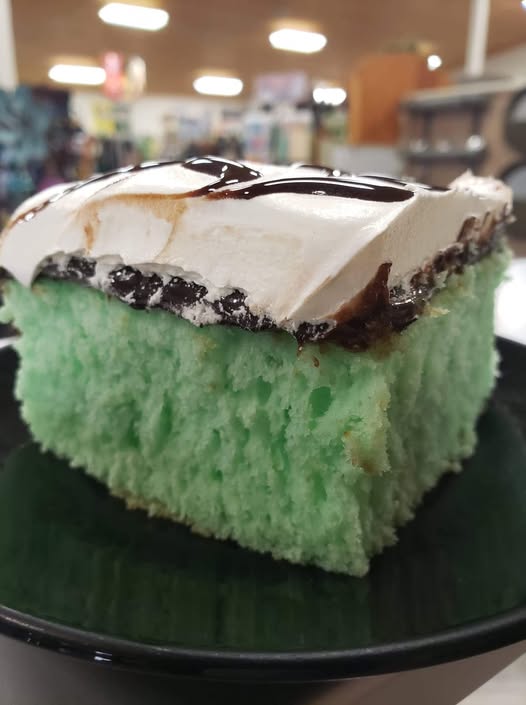
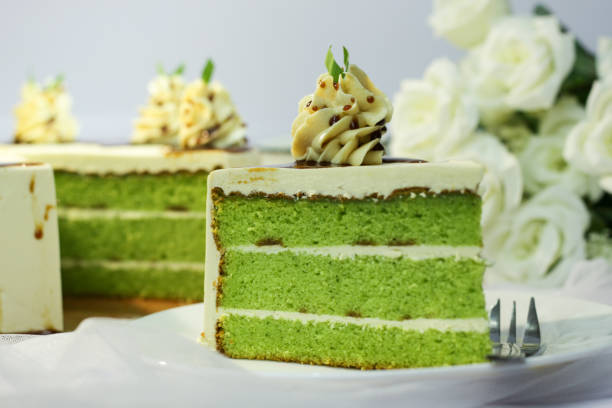
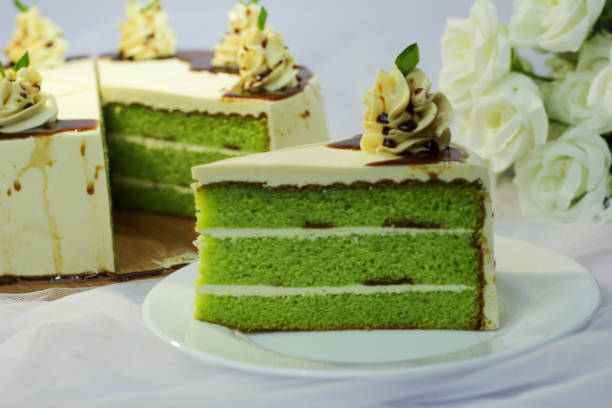
A Grasshopper Cake combines rich chocolate layers with smooth mint-flavored frosting or filling. It’s a decadent, vibrant green-colored dessert that hits all the right notes—sweet, minty, and chocolatey.
Why Choose a Grasshopper Cake?
Thinking about making one? Here are a few reasons why this cake might be your new favorite:
- Flavor uniqueness: Combines the coolness of mint with the richness of chocolate.
- Visually appealing: Its signature vibrant green color makes it stand out.
- Flexible customization: Can be adapted for different dietary needs or flavor tweaks.
- Perfect for special occasions: Birthdays, St. Patrick’s Day, or any celebration requiring a showstopper.
Essential Materials and Ingredients
Before we get into the step-by-step process, let’s make sure you have everything you need. Here, I’ve created a detailed table of materials and ingredients to help you organize your shopping list!
| Materials Needed | Quantity/Size | Notes |
|---|---|---|
| Cake Pans | 2-3 standard 8-inch round pans | For baking layers |
| Mixing Bowls | 3-4 bowls or large mixing bowls | For batter and frosting |
| Electric Mixer or Whisk | 1 | Hand or stand mixer |
| Spatula | 1 | For spreading and mixing |
| Cooling Racks | 1 | To cool baked cakes |
| Cake Leveler or Serrated Knife | 1 | To level cake layers |
| Cake Turntable | Optional, but recommended | For smoother frosting application |
| Measuring Cups and Spoons | As needed | For precision |
| Rubber Spatula | 1 | For folding ingredients |
| Piping Bags and Tips | For decorating | Optional, but adds flair |
| Ingredients | Amount | Notes |
|---|---|---|
| All-Purpose Flour | 2 ½ cups | For cake batter |
| Granulated Sugar | 2 cups | Sweetening the cake |
| Unsweetened Cocoa Powder | ¾ cup | For chocolate flavor |
| Baking Powder | 1 ½ teaspoons | Leavening agent |
| Baking Soda | ½ teaspoon | Helps with rising |
| Salt | ½ teaspoon | Enhances flavor |
| Eggs | 3 large eggs | Structure and moisture |
| Buttermilk | 1 cup | Keeps cake moist |
| Vegetable Oil | ½ cup | Adds tenderness |
| Vanilla Extract | 2 teaspoons | Enhances overall flavor |
| Hot Water or Coffee | 1 cup | Intensifies cocoa flavor |
| Mint Liqueur (e.g., Creme de Menthe) | ½ cup | For mint flavor in frosting or filling |
| Crème de Cacao (or Chocolate Liqueur) | ½ cup | Adds chocolate depth |
| Heavy Cream | 2 cups | For frosting and ganache |
| Powdered Sugar | 2-3 cups | To sweeten frosting |
| Green Food Coloring | As needed | To achieve vibrant green hue |
| Optional Garnishes | Mint leaves, chocolate shavings, sprinkles | For decoration |
Preparing Your Perfect Grasshopper Cake: Step-by-Step
Now that you’ve gathered your materials, it’s time to bake and assemble your masterpiece. Here is a detailed step-by-step guide with tips for success.
Step 1: Baking the Chocolate Cake Layers
- Preheat your oven to 350°F (175°C).
- Grease and flour your cake pans or line with parchment paper.
- In a large mixing bowl, sift together the flour, cocoa powder, baking powder, baking soda, and salt.
- In another bowl, whisk eggs, sugar, vanilla, buttermilk, and oil until smooth.
- Combine wet and dry ingredients gradually, then beat in hot water or coffee until batter is smooth.
- Pour batter evenly into prepared pans.
- Bake for 25-30 minutes or until a toothpick inserted in the center comes out clean.
- Cool in pans for 10 minutes, then transfer to a wire rack to cool completely.
Step 2: Preparing Minty Frosting
- Whip the heavy cream until stiff peaks form.
- Gradually add powdered sugar, vanilla, and food coloring, blending well.
- Gently fold in mint liqueur and crème de cacao for that signature flavor.
- Chill the frosting for at least 30 minutes.
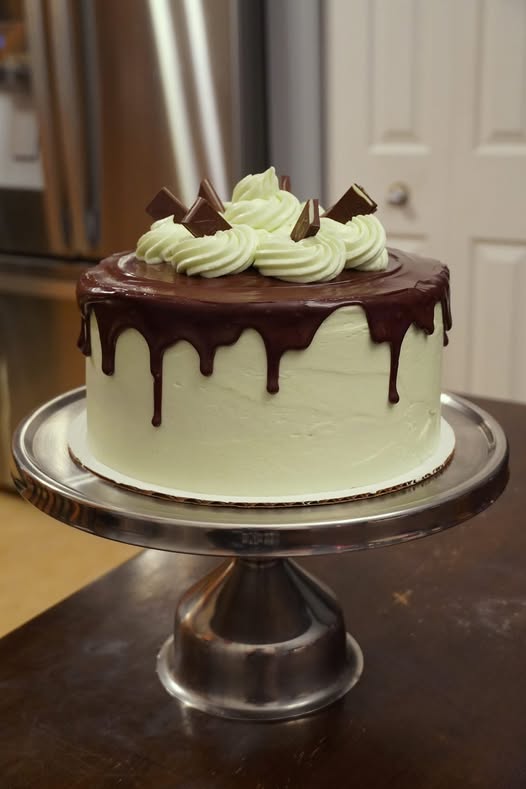
Step 3: Assembling the Cake
- Use a cake leveler or serrated knife to level each cake layer.
- Place the first layer on your serving plate or cake turntable.
- Spread a generous layer of mint frosting or filling.
- Repeat with remaining layers.
- Frost the outside with the remaining mint frosting.
- Decorate with mint leaves, chocolate shavings, or sprinkles for an eye-catching finish.
Tips for Success
- Use quality ingredients: Fresh cocoa powder and good-quality mint liqueur really make a difference.
- Be precise with measurements: Accurate measurements ensure consistent results.
- Chill your frosting: It’s easier to work with and creates clean layers.
- Color carefully: Add food coloring gradually to get the perfect shade.
- Plan ahead: The flavors deepen when the cake sits for a few hours or overnight.
Common Mistakes and How to Avoid Them
| Mistake | Solution |
|---|---|
| Overbaking the cake | Start checking for doneness at 25 mins |
| Uneven layers | Use a cake leveler or serrated knife |
| Too thin frosting layers | Use a piping bag or spatula for precision |
| Not chilling frosting enough | Chill for at least 30 mins before decorating |
| Overloading with coloring | Add food coloring gradually to prevent a soggy look |
Variations You Can Try
Thinking of switching things up? Here are some creative twists:
- Gluten-Free Version: Use almond or gluten-free flour.
- Vegan Grasshopper Cake: Substitute eggs with flax eggs and use plant-based cream.
- No-Bake Option: Use crushed cookies and whipped cream for a simpler, no-bake version.
- Layer Variations: Incorporate additional flavors like coffee or peppermint extract.
To Wrap It Up
In conclusion, making a beautiful and delicious Grasshopper Cake is totally doable if you follow the right steps and pay attention to detail. From rich chocolate layers to refreshing mint frosting, this cake delivers a perfect balance of flavors that will wow everyone. Remember to gather quality ingredients, follow each step carefully, and don’t rush. With a little patience and creativity, your homemade Grasshopper Cake can become the star of any celebration!
So, what are you waiting for? Roll up your sleeves and get baking — your perfect Grasshopper Cake awaits!


