
Hey there! If you’re a fan of rich, indulgent desserts, chances are you’ve heard of the legendary Blackout Cake. It’s a decadent chocolate masterpiece that’s perfect for birthdays, special occasions, or even just a lazy weekend treat. But beyond just tasting amazing, many bakers find themselves wondering: What makes a Blackout Cake truly exceptional? Well, today, I’m gonna take you through everything you need to know—from the basics of the cake’s history and key ingredients to pro tips, common pitfalls, and some creative twists. Let’s get into it!

What Is a Blackout Cake?
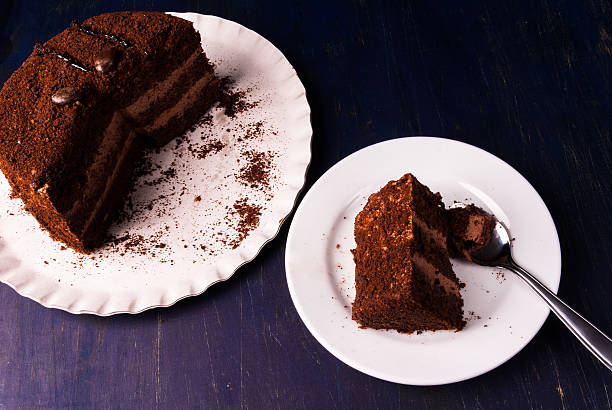
Blackout Cake is a dense, moist chocolate layer cake famously known for its rich dark appearance and intensely chocolate flavor. Originally popularized during the 1920s and 1930s in the United States, particularly in New York, it’s also called a “Black Forest” in some variations, but be careful — they aren’t the same.
This cake is characterized by:
- A deep chocolate flavor that’s often more intense than typical chocolate cakes
- A luxurious pudding or frosting filling, which gives it a moist, melt-in-your-mouth texture
- A smooth, often glossy, chocolate ganache or frosting coating
Why is it called “Blackout”?
The name comes from the cake’s dark, almost blackout appearance, which is both a visual and flavor statement. Some say it’s because of the cake’s intensely dark cocoa color and dense chocolate layers that resemble a blackout curtain.
Going Beyond Basic: What Makes a Blackout Cake Stand Out?
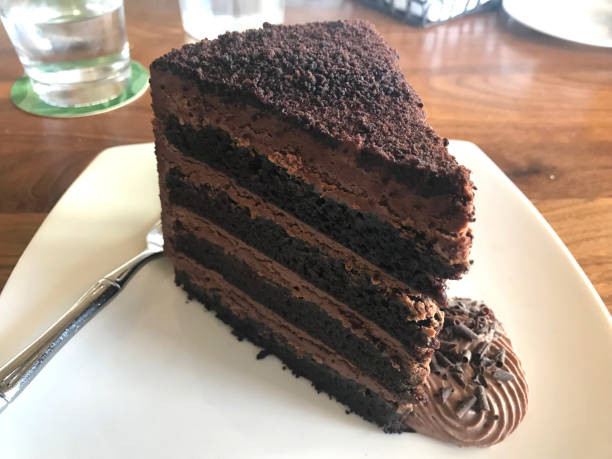
Unlike standard chocolate cakes, Blackout Cakes are known for their thick, fudgy layers and lavish filling. It’s not just about the chocolate flavor; it’s about creating a moist, decadent experience that keeps everyone coming back for more.

Key Features of an Authentic Blackout Cake
- Rich, dark chocolate flavor: Usually achieved with high-quality cocoa powder or chocolate.
- Moist texture: The cake should be tender but sturdy enough to hold fillings.
- Filling or frosting: A thick layer of chocolate pudding, mousse, or fudge that keeps the cake moist and adds depth.
- Finish: A glossy chocolate ganache or frosting on top for visual appeal and flavor depth.
Materials Needed: The Perfect Blackout Cake – Detailed Ingredients List
When it comes to baking, quality ingredients make all the difference. Here’s a comprehensive list, with measurements, so you can get that perfect dessert.
| Ingredients | Quantity | Notes |
|---|---|---|
| Unsweetened cocoa powder | 1 cup (unsweetened) | Use Dutch-processed for a richer flavor |
| All-purpose flour | 2 ½ cups | Sifts to avoid lumps |
| Granulated sugar | 2 cups | For sweetness and moisture |
| Baking powder | 1 ½ teaspoons | Leavening agent |
| Baking soda | 1 teaspoon | Helps with rise and texture |
| Salt | ½ teaspoon | Enhances flavor |
| Eggs | 4 large | Binds the cake together |
| Buttermilk | 1 cup | Adds tenderness |
| Vegetable oil | 1 cup | Keeps the cake moist |
| Vanilla extract | 2 teaspoons | Enhances overall flavor |
| Boiling water | 1 ½ cups | Creates a moist crumb |
| Semi-sweet chocolate (chips or chopped) | 1 cup | For filling or frosting |
For the Filling & Frosting:
| Ingredients | Quantity | Notes |
|---|---|---|
| Heavy cream | 1 cup | For ganache or frosting |
| Semi-sweet chocolate | 2 cups | To make glossy ganache |
| Instant chocolate pudding mix | 1 package (3.9 oz) | For thick, fudgy filling |
| Powdered sugar | 1 cup | For sweetness and stability |
| Butter | ½ cup | For richness |
Step-by-Step: How to Make a Classic Blackout Cake
Step 1: Prepare the Cake Layers
- Preheat your oven to 350°F (175°C). Grease and flour two 9-inch round cake pans.
- In a large bowl, sift together cocoa powder, flour, sugar, baking powder, baking soda, and salt.
- Add eggs, buttermilk, oil, and vanilla. Mix on medium speed until well combined.
- Carefully add boiling water while mixing on low; the batter will be thin, but that’s normal.
- Divide the batter evenly between prepared pans.
Step 2: Bake
- Bake for 30-35 minutes, or until a toothpick inserted into the center comes out clean.
- Let the cakes cool in pans for 10 minutes, then turn out onto wire racks to cool completely.
Step 3: Prepare the Filling and Ganache
- For the filling, prepare the chocolate pudding according to the package and let it set in the fridge.
- Make the ganache by heating cream until just boiling, pouring over chopped chocolate, then stirring until smooth. Let it thicken slightly.
Step 4: Assemble the Cake
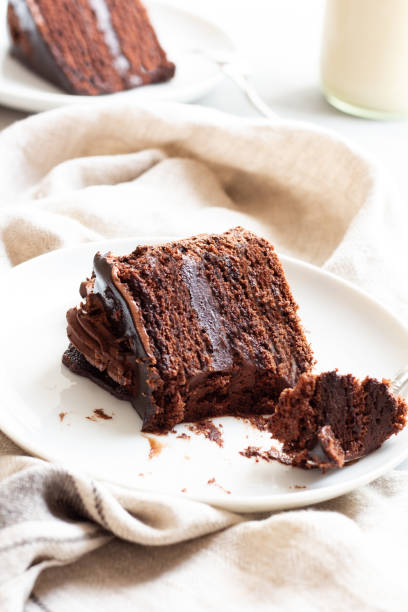
- Place one layer on your serving plate. Spread a generous layer of pudding or fudge, then top with the second layer.
- Cover the entire cake with ganache or frosting, smoothing it out with a spatula.
- Optional: Decorate with chocolate shavings or sprinkles for an extra wow factor.
Step 5: Chill Before Serving
- Refrigerate the cake for at least 2 hours to allow flavors to meld and the filling to set.
Tips for Success
- Use good-quality cocoa powder and chocolate — this makes a noticeable difference.
- Don’t skip the boiling water — it enhances the chocolate flavor and contributes to the cake’s moistness.
- Ensure layers are cooled completely before frosting to prevent melting.
- Chill the cake after assembling — it’s easier to cut and looks more professional.
- Experiment with fillings — try chocolate mousse, fudge, or even espresso-infused cream for variation.
Common Mistakes and How to Avoid Them
| Mistake | How to Fix/Bypass |
|---|---|
| Overmixing the batter | Mix just until combined to avoid dense, tough cake. |
| Not properly cooling layers | Warm layers will melt the filling and frosting—cool completely first. |
| Using low-quality chocolate | Quality ingredients are key for authentic flavor. |
| Not measuring ingredients accurately | Use measuring cups/spoons for consistency. |
| Skipping the chill time | Patience ensures clean slices and flavor development. |
Variations and Creative Twists
While the classic Blackout Cake is a showstopper on its own, here are some fun spins:
- Mocha Blackout: Add a shot of espresso or instant coffee to the batter or filling.
- Chocolate & Cherry: Incorporate cherries or cherry preserves between layers.
- Nutty Blackout: Add chopped toasted nuts to the filling or sprinkle on top.
- Vegan Version: Use plant-based ingredients like almond milk, coconut oil, and dairy-free chocolate.
Wrapping It Up
Making a Blackout Cake might seem intimidating at first, but with the right ingredients, a bit of patience, and a touch of love, you’ll end up with a show-stopping dessert that’s as beautiful as it is delicious. Remember to prioritize quality, follow the steps carefully, and don’t hesitate to get creative with flavors and decorations.
So, next time you want to impress your friends or treat yourself to something special, give this decadent Blackout Cake a try. Happy baking!


