Ever wondered how to make a coconut poke cake that’s perfectly moist, rich in flavor, and irresistibly creamy? If you love coconut and easy-to-make desserts, this recipe will be your new favorite! Today, I’ll guide you through a foolproof, upgraded version of this classic cake that fills in all the gaps your competitors missed.

What is a Coconut Poke Cake?
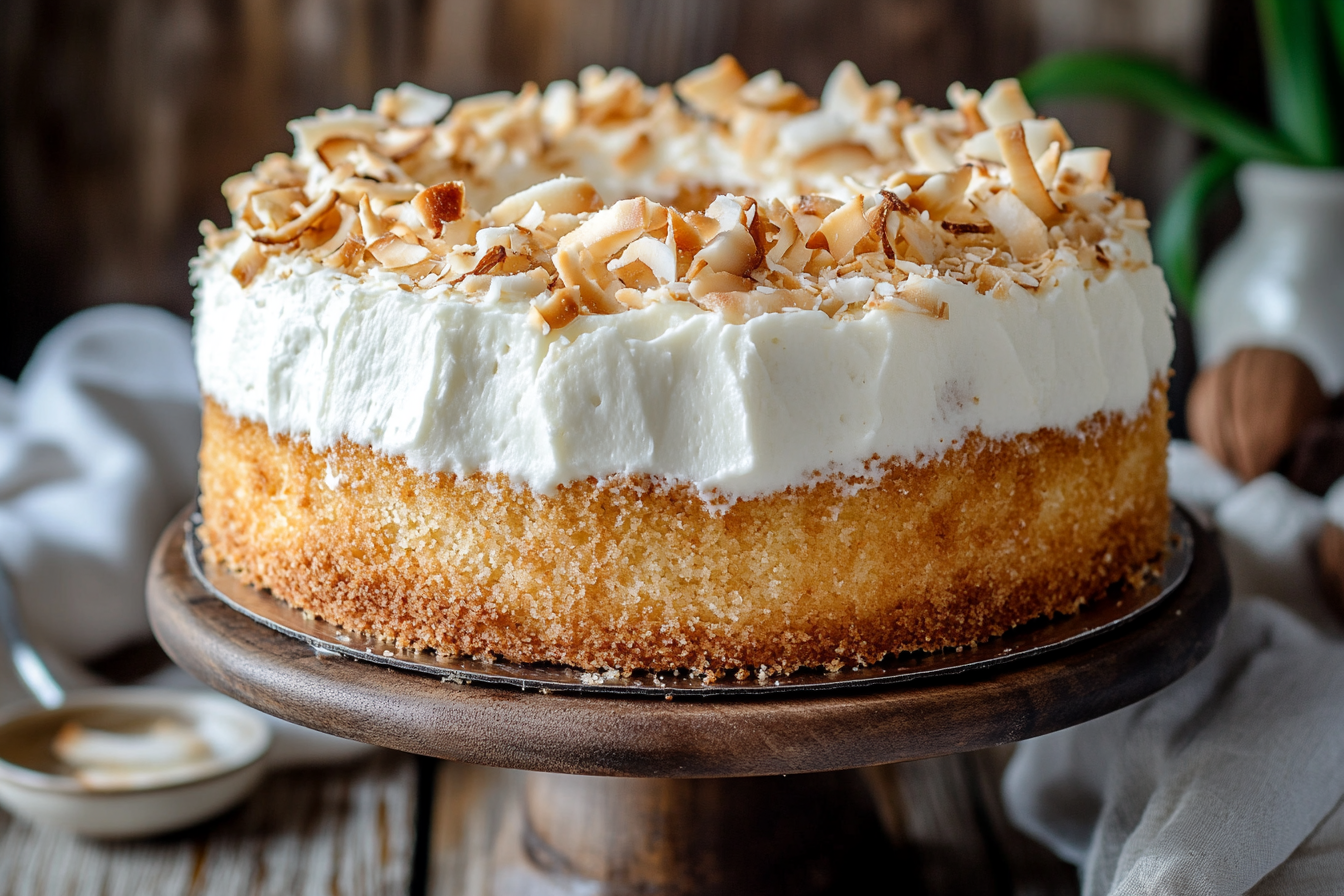
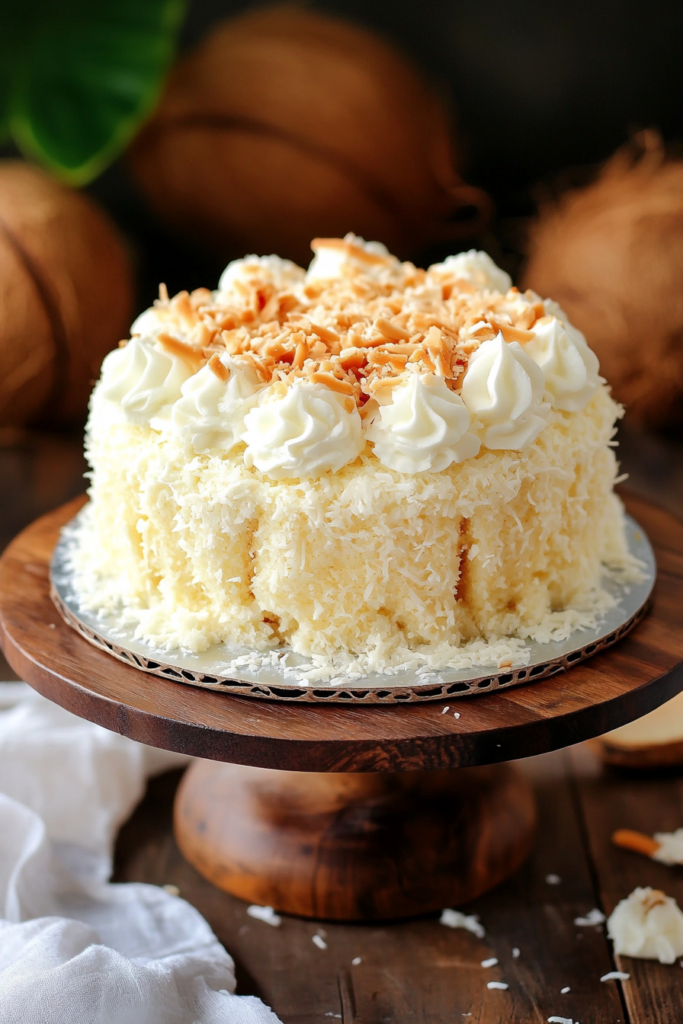
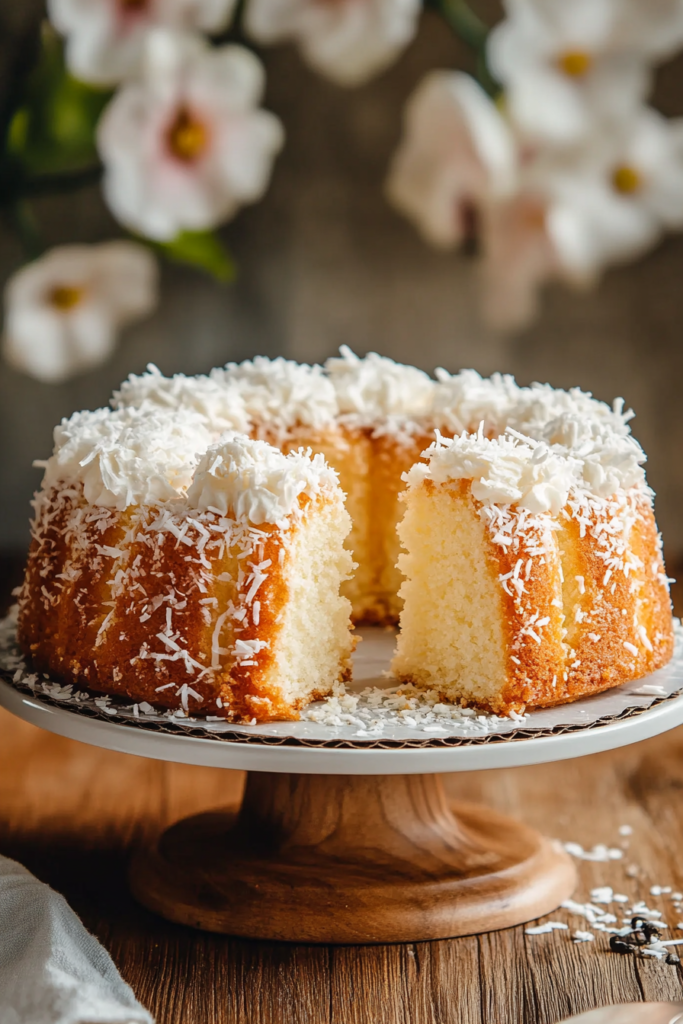
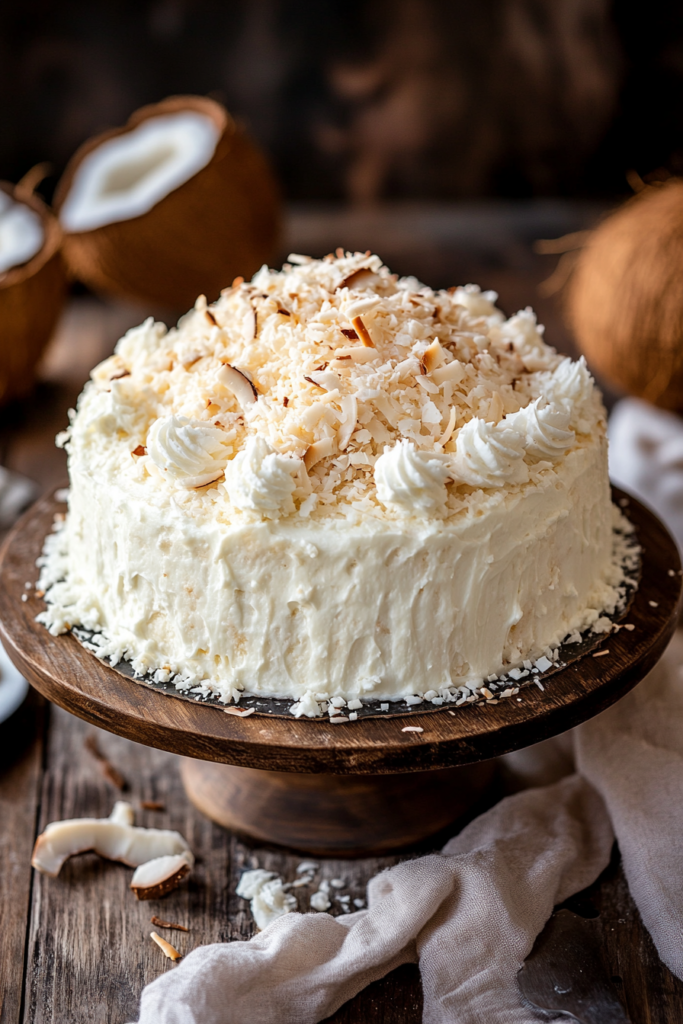
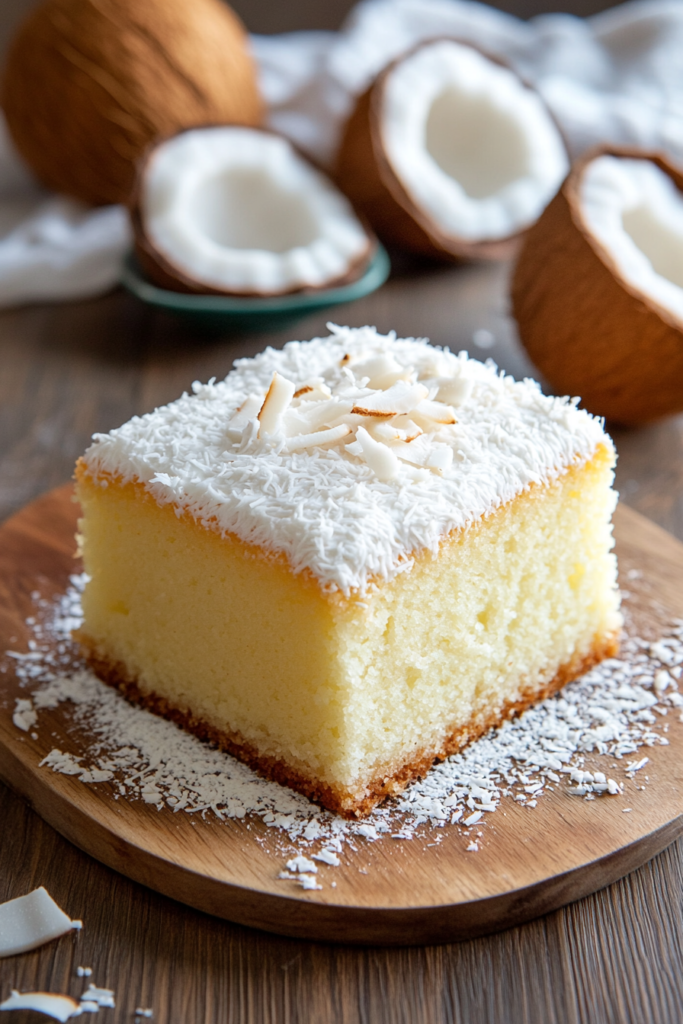
Coconut poke cake is a delightful dessert where a fluffy white cake is baked, then “poked” with holes to absorb a rich coconut-infused filling. The result? A cake that’s ultra-moist, creamy, and bursting with tropical flavor in every bite.
This recipe takes it up a notch by ensuring the perfect balance of sweetness, texture, and coconut richness.
Ingredients & Materials Needed
Before we get started, make sure you have everything on hand.
Ingredients
| Ingredient | Quantity | Notes |
|---|---|---|
| White cake mix | 1 box (15.25 oz) | Use your favorite brand |
| Eggs | As per cake mix | Typically 3 large eggs |
| Vegetable oil | As per cake mix | Usually 1/2 cup |
| Water | As per cake mix | Usually 1 cup |
| Sweetened condensed milk | 1 can (14 oz) | Adds creaminess and sweetness |
| Coconut milk | 1 can (13.5 oz) | Choose full-fat for the best flavor |
| Whipped topping (Cool Whip) | 1 tub (8 oz) | Can substitute with homemade whipped cream |
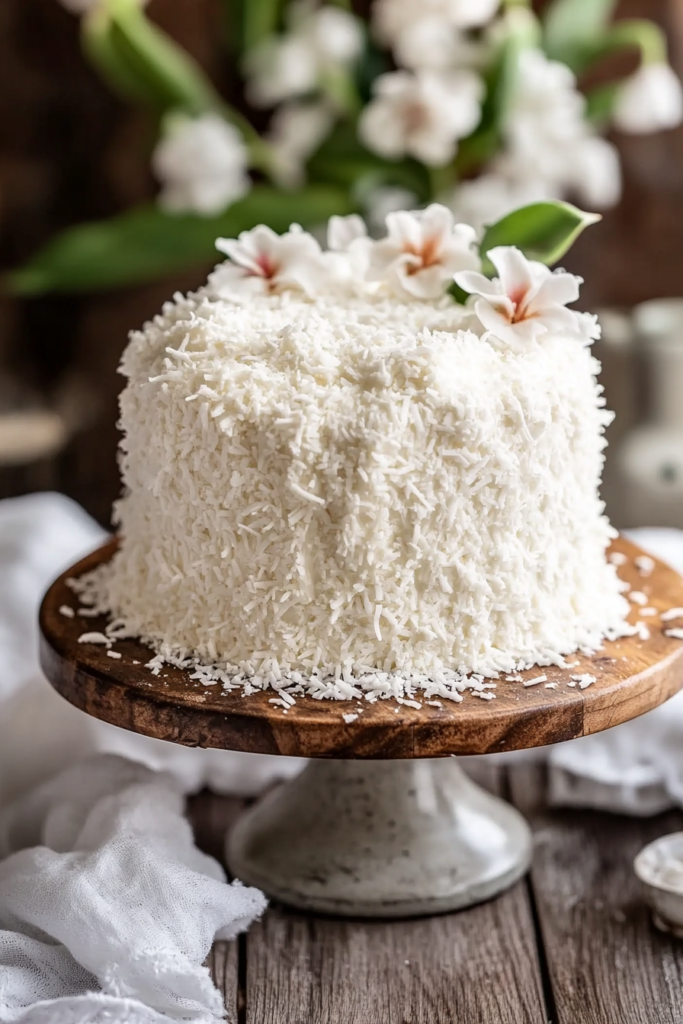
| Sweetened shredded coconut | 1 cup | Lightly toasted for extra texture |
| Vanilla extract | 1 tsp | Enhances flavor |
Tools Needed
- 9×13-inch baking pan
- Mixing bowls
- Electric mixer or whisk
- Wooden spoon or skewer (for poking holes)
- Measuring cups and spoons
Step-by-Step Instructions
Step 1: Prepare and Bake the Cake
- Preheat your oven to 350°F (175°C).
- Grease a 9×13-inch baking pan with non-stick spray or butter.
- Prepare the white cake mix according to the package instructions, using eggs, vegetable oil, and water.
- Pour the batter into the baking pan and bake according to package instructions (typically 28-32 minutes).
- Once baked, let the cake cool for about 10-15 minutes.
Step 2: Poke and Soak the Cake
- Using a wooden spoon handle or skewer, poke holes evenly across the cake, about 1 inch apart.
- In a mixing bowl, whisk together the sweetened condensed milk and coconut milk.
- Slowly pour this mixture over the cake, ensuring it seeps into the holes for maximum moisture.
- Let the cake chill in the refrigerator for at least 2 hours to absorb all the flavors.
Step 3: Add Toppings
- Spread a generous layer of whipped topping over the chilled cake.
- Sprinkle toasted shredded coconut evenly on top.
- Refrigerate for another 30 minutes before serving for best results.
Tips for Success
- Use Full-Fat Coconut Milk: It provides the richest flavor and texture.
- Let the Cake Fully Absorb the Milk Mixture: Refrigerating for a few hours (or overnight) enhances the taste.
- Toast the Coconut: Lightly toasting the shredded coconut before sprinkling on top adds a delightful crunch.
- Homemade Whipped Cream Option: If you prefer a fresher taste, whip 1 cup heavy cream with 2 tbsp powdered sugar instead of using Cool Whip.
Common Mistakes & How to Avoid Them
- Not Poking Enough Holes: The cake won’t absorb the filling properly, leading to dry spots.
- Pouring the Milk Too Quickly: Let it seep gradually so every bite gets infused with coconut goodness.
- Skipping the Chilling Time: Rushing to serve the cake before it’s properly set will compromise the texture.
- Overloading with Sweetness: Balance is key—stick to the recommended ingredient measurements.
Variations to Try
Want to mix things up? Here are some delicious variations:
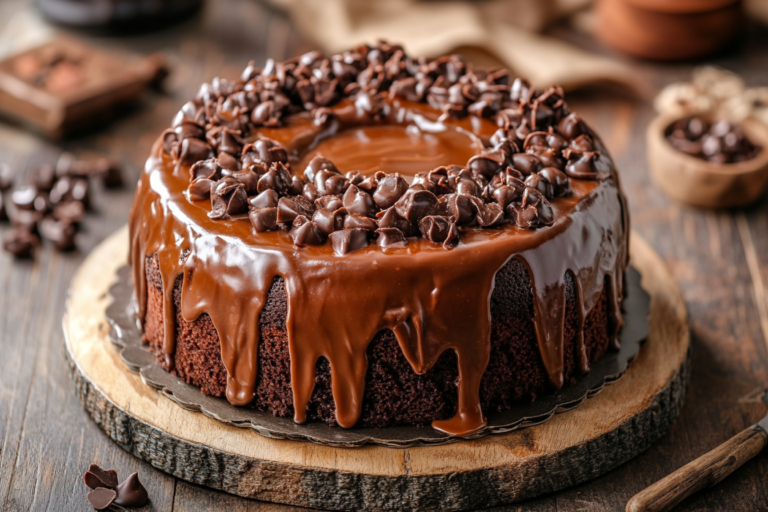
- Chocolate Coconut Poke Cake: Use chocolate cake mix instead of white cake for a rich contrast.
- Pineapple Coconut Poke Cake: Add crushed pineapple between the layers for a tropical twist.
- Coconut Tres Leches Cake: Add evaporated milk for an ultra-moist, Latin-inspired version.
- Almond Coconut Poke Cake: Mix 1/2 tsp almond extract into the batter for a nutty depth of flavor.
Summary
Coconut poke cake is the ultimate easy-to-make dessert that delivers tropical flavor, rich creaminess, and melt-in-your-mouth texture. By following this upgraded recipe, you’ll achieve a perfectly moist, flavorful cake every time. Whether for family gatherings or just indulging in a sweet treat, this cake is bound to impress!
Give it a try, and let me know how it turns out!